Check out the latest post on my new blog!
Source: Tied in knots
Check out the latest post on my new blog!
Source: Tied in knots

I often get an idea for what I want to cook, then spend hours hunting through recipe books, magazines, or on-line for the right recipe. Sometimes I find it, sometimes I don’t.
I love using fruit or vegetables in the food I make but winter offers a limited selection. This means I need to be a bit more creative to find the right ingredient. I’ve been doing a bit of baking with beetroot lately, Chocolate Beetroot Cake and Chocolate Beetroot Brownies to be precise. One of my favourite salads consists of grated fresh beetroot, apple and carrot dressed with orange juice, red wine vinegar and olive oil. It’s so simple and delicious. Sometimes I can’t stop eating it. Another favourite is Roast Pumpkin and Beetroot Salad with Goat’s Cheese and Hazelnuts.
Beetroot is such a versatile vegetable. It doesn’t have to be pickled (although that’s good too) but for many people that’s the only way they’ve eaten it. They say that don’t like it but haven’t experience the true sweet earthiness beetroot has to offer.
I decided (actually I had beetroot in the fridge needing to be used) that I wanted to make a cake with beetroot that wasn’t dominated by chocolate. The answer: Red Velvet Cake. I’ve been fascinated by red velvet cake but turned off by the need to use huge amounts of red food colouring to achieve the desired colour. So naturally I started to look for a recipe that used beetroot instead.
My hunt for a Real Red Velvet Cake recipe using real natural ingredients led me here: http://www.larecetadelafelicidad.com/en/2012/11/natural-red-velvet-cake.html
It was almost what I was after but not quite. As you may know I’m not always content to just follow a recipe. I just put all the ingredients into the food processor but it didn’t come together the way it should have. The tin I used was too big for the amount of batter. The result was a flat dense cake, delicious but disappointing. I gave a taste to the girl that lives behind the shop. She suggested I call it mud cake, so I did and it sold like hot cakes!
Not one to give up easily I made it again using a smaller pan, and it rose to the top, just like it should. I’ve since made this cake a few more times and I’m finally happy with the results.

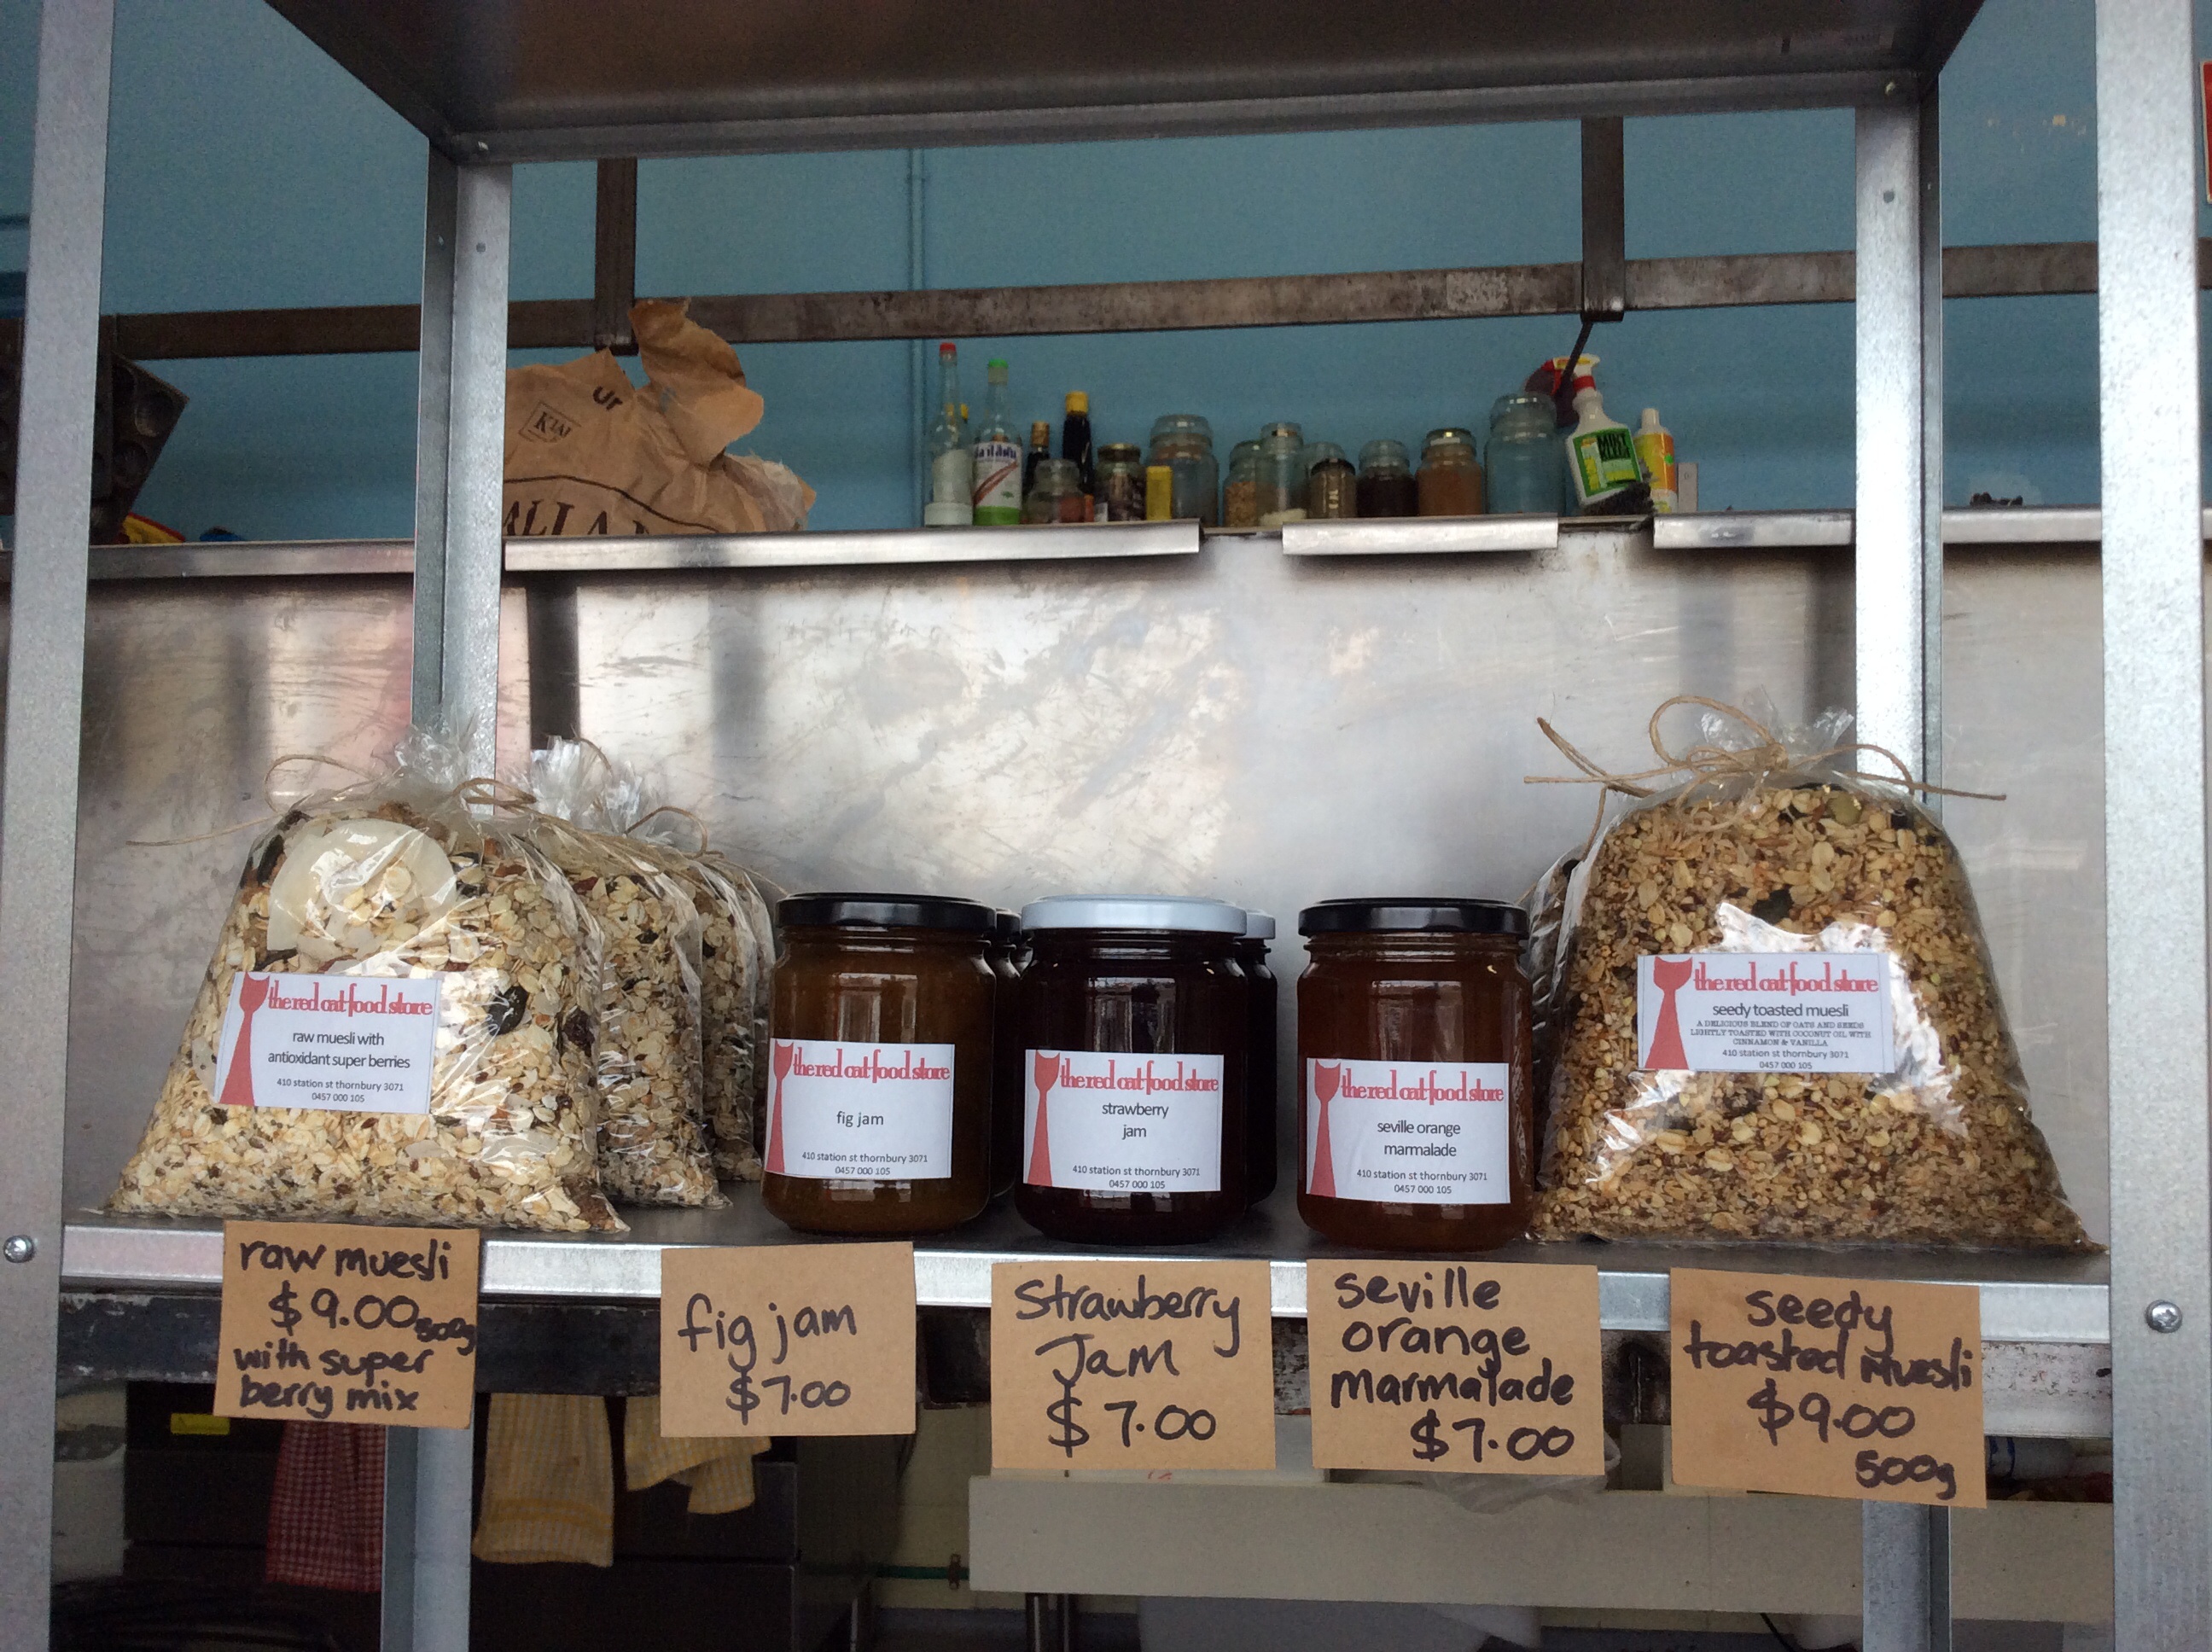
After more than six months of trading, the shop has signage!
Those of you who follow my page on Facebook, may already be aware of the changes that have taken place at The Red Cat Food Store over the past month or so. It certainly has been an eventful period in my life.
On the 20 July I had a stall at a local craft market, Made’n Thornbury Market . It was a very successful day despite the atrocious weather. There was a sudden heavy downpour and hail in the middle of the day, lucky the market was in doors, but the poor patrons certainly got wet.
I’d worked right through the night before the market to be ready. I was feeling very exhausted that evening so went to bed at 6:30 pm for a well deserved early night. Just as I lay down, my phone rang with the news that the window at the shop had been smashed. Suffering from sleep deprivation and not thinking clearly, I hastily got dressed and ran out of the house to see what had happened.
As I turned out of our drive way, I lost my footing on the wet concrete footpath and fell flat on my face, using my hands and mouth as a break. When I got there, a small crowd was gathered outside awaiting the arrival of the police. I stood shivering in shock and cold, holding a face-washer to my mouth to stem the bleeding. I had put my teeth into the inside of my bottom lip, not quite going right through.
It seemed that two 16 year olds had been seen running away after the sound of breaking glass was heard by a couple of witnesses. As the witnesses didn’t actually see which on of the two teenagers broke the window, the police where unable to press charges. An ambulance was called to check me over and they advised I go to the emergency department of the local hospital.

A shutter where the window used to be…
After waiting for someone to come to put a metal shutter on the broken window and getting a friend to come and sit with our three children, my partner drove me to the hospital. Luckily it was early on Saturday night and I didn’t have to wait too long to be seen. I was cleaned up and sent home, feeling very sad and sorry for myself. Finally crawling into bed at 11 pm.

The team from Dynamic Glass replace the window
That’s one of the things about life, things can change really quickly. Whilst nothing serious happened it, the events of that night kind of shook me. While I was waiting for the window glass to be replaced by my brother-in-law ( I can thoroughly recommend Dynamic Glass for all your glass needs), a friend dropped in to the shop for a coffee. I was over whelmed when he offered to do the signs on the shop for free. His offer came right of the blue and has been the boost I need to get over the window being broken and literally falling on my face!
You never know what life has in store for you or what is about to change, for me the key is to “roll with the punches, to get to what’s real”. I can’t believe I’m quoting lyrics from a Van Halen song, but that’s life!
Autumn is my favourite time of year. I love living in Melbourne and seeing the seasons change. As the days grow shorter ,the trees start to lose their leaves. The weather gets colder and it’s time to get out warm woollen jumpers, coats and scarves. Our climate is temperate, we get cold nights but the thermometer rarely drops below zero in the city. It’s when I go to bed with a hot water bottle to keep my toes toasty warm.
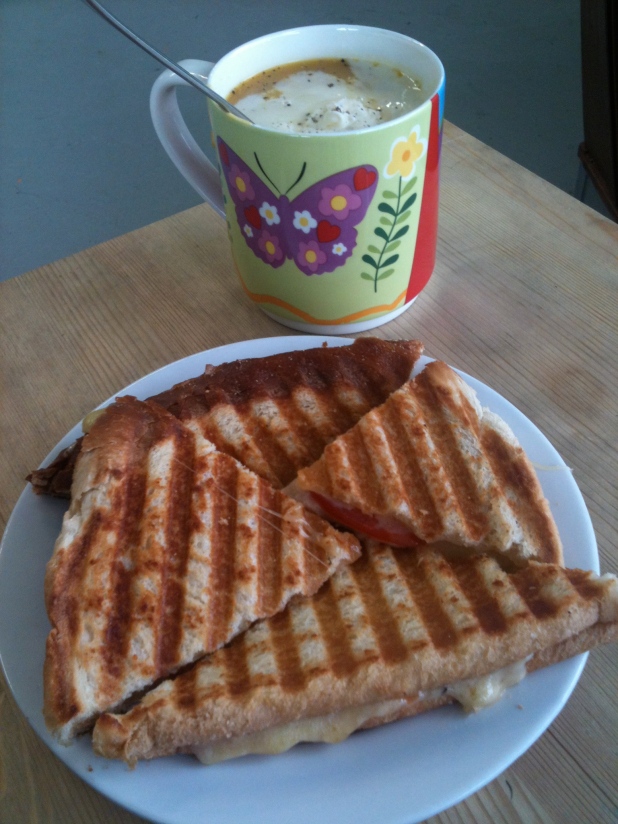
It’s also time to start cooking hearty, warming meals. Soups, casseroles, braises, stews, pies and bakes. I love this type of cooking. Soup is one of my favourite lunches. With a slice of good sourdough bread and butter, I could eat (drink it?) every day. Or a toasted cheese sandwich, the perfect accompaniment to a steaming cup of soup.
I’ve already been making soup at the store for a few weeks now. The weather has been a bit changeable so I may have been a bit premature but they will be a permanent feature on my menu from now on. Toasted sandwiches will be there too. The girls at the chemist shop a few doors down from me are certainly enjoying them.
A lot of people tell me they can’t cook. I think soup is one of the easiest and most nourishing things you can make. This was one of the first things I learnt to cook when I moved out of home. I never really had a recipe, I just remembered how my mum Helen made it. Almost every weekend during autumn and winter there was a big pot of soup made on Saturday morning, this was one of my favourites, even though I didn’t like pumpkin!
The way my mum makes pumpkin soup couldn’t be easier.
Helen’s Pumpkin Soup.
3-4 large leeks, washed and roughly sliced.
A large piece of pumpkin (she usually uses Kent or Queensland Blue), peeled, seeded and chopped into chunks
A few potatoes (a good floury type like Sebago), peeled and chopped in to chunks
Boiling water or hot stock (chicken or vegetable)
Salt and pepper to taste
Leeks usually have lots of dirt inside them. Remove the tough outer leaves and cut down the middle then cut across into big chunks. Put them into a large bowl and cover water, give them a bit of a swish and leave while you deal with the pumpkin and potato. When everything is chopped, lift the leek out of the water. If you try to pour the water off, the dirt will come out with it. Make sure the leeks are clean, if not put back into the bowl with clean water and rinse again.
Put the vegetables in a large saucepan and just cover with the hot water or stock. Return to the boil, then reduce the heat and simmer for about 10-15 minutes of until the vegetables are tender. Blend the vegetable with the liquid until they are smooth and there are no large lumps. If you have a stick blender you can blend the soup in the saucepan you cooked it in. If you don’t you can use a blender or food processor.
Add salt and pepper to taste. Serve in a bowl with a dollop of cream or sour cream. It tastes great with some chopped chives sprinkled on top too!
Just right for a cold autumn lunch or easy dinner.

Roast Beef and Vegetable Pie
It’s a Sunday morning in early January and I’m sitting in bed as I write this. This is unusual for me as it’s now after 8 am and the house is very quite. My partner has taken our three kids to stay overnight at a friend’s farm on the outskirts of Melbourne. My alarm went off at 6 am but I kept on hitting snooze, relishing the opportunity for a sleep in on a cool and quiet morning.
It’s been awhile since my last chance to look at this blog. I started writing this back in November and then things started to get a bit crazy. I had leased a shop front back in July while still at school fulltime doing a Patisserie course. As the year started to wind up, I needed to do something about getting it open. The events of the last two months are the subject of another (soon to be written) post but in the meantime, here’s one I prepared earlier…
Mend and make do was the way people used to live before 24 hour supermarkets, convenience stores and on-line shopping. I’m old enough to remember when the shops shut at 12 pm on Saturday and didn’t open again until 9 am Monday morning. Things seemed to move a lot slower then. The cars didn’t go as fast, mail was delivered by the postman and the milkman still delivered milk in glass bottles with foil tops.
It’s a concept that seems foreign to many and old fashioned to most. Why fix something when you can go buy a new one? Shopping has become a recreational past-time rather than a necessity. What do you want to do today? I don’t know lets go shopping.
After spending Saturday morning at the Collingwood Children’s Farm Market helping my de-facto cousin in-law Naomi on The Butterfactory stall, I came home laden with fresh local produce. A succulent piece of bolar blade roast beef from Warialda and potatoes, pumpkin and parsnips from Kinglake were destined to become a Sunday Roast.
Sunday morning was spent in the Red Cat Food Store kitchen. The strawberries my mum had picked up in the Yarra Valley became rather runny strawberry jam, I’m calling it strawberry sauce. It’s great with natural yoghurt and my coconut toasted buckwheat muesli for breakfast.
When I got home on Sunday afternoon, I put the piece of roast beef in the oven at 250 C and cooked it for 15 minutes before turning the temperature down to 160 C. This ensured that the thick layer of fat started to render and crisp up. After another half an hour the vegetables were put in and cooked along with the meat for another hour. When the meat was cooked, I took it out and rested it covered in foil while I made the gravy.
We pulled broad beans out of the garden to make way for the summer tomatoes. These were shelled and cooked in a pot of boiling water, then the skins were peeled off the beans and they were coated in a dressing of lemon juice, olive oil and garlic.
The now succulent beef was sliced thickly and put into a serving dish and all was served on the table with a jug of gravy. I find with three small children it’s often easier to bring all the food to the table. The kids seem to eat more when it’s there in front of them and it means I can enjoy a meal without having to get up and down all the time.
As the piece of beef was more than sufficient for one night’s dinner and I always cook more roast vegetables than we could possibly eat, there were plenty of leftovers. What remained was chopped up and used to make the most fantastic Cottage Pie I’ve ever had. That’s a pretty big statement as my mum’s Cottage Pie was and still is a favourite of mine.
Mend and Make Do Pie
This is not really a recipe with measurements and a list of ingredients, it’s more of an idea and a method that will hopefully get you thinking about how you can re-purpose last-night’s leftovers.
All the leftover roast meat was chopped into smallish pieces after removing the fat layer from the top. The fat was also chopped and added to a hot cast iron frying pan to render. When the fat started to run, I added diced onions and cooked them to translucent and golden. Then the meat and diced roast vegetables (potatoes, pumpkin, parnips, carrots, onions and garlic) were added with the left over gravy and peas. This was then cooked until bubbling and thick.

The filling awaits it’s potato topping
I could have stopped there and served it up as a roast meat and vegetable casserole but decide to boil some potatoes and mash them with a generous knob of butter and a little milk. The meat mixture was placed in a square pyrex dish and topped with the mashed potato. A sprinkle of parmesan and some more butter to finish it off and into the oven at 350C for about 30 mins or until the top is golden and crisp and the gravy is bubbling.
Absolutely delicious! This would also make a great pie filling and this method could be used with any leftover roast meat. The kids devoured it and my eldest who hadn’t been so keen on it the night before came back for seconds and thirds.
Today I’ve been at home with just my youngest son, Oliver, who is 3. We took the two older ones at school and kindergarten then walked home. When we got home, Oli decided he wanted me to make biscuits. If left to his own devices, Oli would live quite happily only eating biscuits, Vegemite toast and breakfast cereal, maybe a banana or two. He’s a carbs lover, likes potato, chips or boiled but not mashed. He especially likes biscuits, sweet or savoury it doesn’t matter to him.
Because I’m in the process of setting up the kitchen in the shop, I have few ingredients or cake tins left at home. This means that at the moment, when Oli says lets make biscuits, the options are fairly limited. “What kind of biscuits do you want” I ask. “Let’s look in the biscuit book” he says. Yes I’m a passionate, some might say obsessive, baker but I have few books dedicated solely to biscuits. I find one book with biscuits, but most of the recipes required ingredients I don’t have to hand. Whilst the shop is only two minutes walk around the corner from where we live, the journey becomes longer and more difficult with a three year old, so I choose to use what’s in the pantry – not much.
I manage to find a bag of rolled oats, I know I have some butter, flour, sugar, eggs, spices and a couple of bits of dried fruit. After trawling the interweb, I find this recipe on the Martha Stewart website that looks appealing. “10 mins preparation time” it says at the top of the recipe, just my kind of thing. Melted butter, another of my favourite ingredients. I love to cook, but sometimes I’m lazy. After all day in the kitchen at school making “L’Exotique Gateau” yesterday, I really can’t be bothered. Minimum effort for maximum effect is what I’m all about today. I don’t have any brown sugar in the pantry but I have close to a cup of organic raw sugar and a jar of molasses. Perfect, that’ll do the trick. No raisins, just a small amount of cranberries and currants.
When it comes to baking, people tend to get all hung up on following the recipe exactly. Yes, I agree, that it’s important when it comes to things like sponge cakes or pavlova to get a good finished product. However, as my experience at college has taught me, in a class of 10-12 people, all given the same ingredients, the same recipe, the same instructions and cooked in the same oven, everyone produces something slightly different.
I’m learning to relax, trust my instincts and just go for it. So when I didn’t have all the ingredients the recipe called for, I made it up as I went along. This is the result –
Cranberry Oats Squares
Preheat oven to 200°C (180°C fan-forced). Combine all dry ingredients in a large mixing bowl. Add the molasses and vanilla to the melted butter. Pour over dry ingredients and stir to combine. Add the egg and combine. Put into paper lined square tin and bake for about 30 minutes. Cool in the tin for 15 minutes. Remove from tin and cut into squares while still warm.
It’s smelling fantastic as it sits on the top of the stove cooling. Just the thing for hungry kids after a day at school/kindergarten and hopefully some leftover for lunch-boxes tomorrow.


Last week my friend and fellow blogger Lara, who blogs as Thornberry, asked me to make a cake for her book group.
We have a semi-regular play date on a Tuesday morning so our 5 year olds can get play while we drink coffee, eat cake and do some knitting and crochet. The last time we got together I made an apple tea cake from a recipe of my great-aunty Alma.
It’s a deliciously moist cake topped with slices of apple and dregged with sugar and cinnamon before baking. It was one my grandmother would make for her friends when they came for afternoon tea. My brother and I would be lucky enough to get a piece when we visited a few days later. It was always spread thickly with butter or served with lashings of cream as Granny claimed it was “a bit dry”. It never was, but no-one complained.
A few weeks ago I had made an orange semolina cake with blood orange syrup for Father’s day. Lara was lucky enough to get some of the leftovers. So when her request came, she asked if I could make an orange cake or and apple tea cake.
I still had some blood oranges left from making Marathon Maramalade and had been thinking about making a flourless orange cake with them. I suggested this to Lara and she was happy with the idea.
I used Stephanie Alexander’s recipe from Cook’s Companion for Claudia Roden’s Middle Eastern Orange Cake. It’s always moist and delicious but notoriously hard to get to cook all the way through without burning the edges. I followed Stephanie’s advice to use a tin that allows for the batter to be no more than 6 cm deep. I also lined the sides of the tin with three layers of baking paper to offer some protection to the sides of the cake.
I used 4 small blood oranges in a pot of water and cooked until tender. The recipe said 2 hours but as my oranges were small and thin skinned so they only took an hour. I removed them from the pot and cut them into quarters so they’d cool quicker.
When it came out of the oven, the cake was cooked perfectly all the way through and didn’t sink in the middle. I really wanted to cut a slice and have a taste, but as it was for an order, I couldn’t! I thought about dusting the cake with icing sugar but as it was to be served later it would have melted. The other option was an orange icing but upon further investigation, the pantry was bare of icing sugar.
I finally decided to make blood orange compote to serve with the cake as a little something extra on the side. Segmented oranges and orange zest were placed in a bowl. I made then a light caramel to which orange juice was added then poured over the top of the fruit and allowed to cool. I’m told it tasted “superb”. Thanks to Lara for the great photos.
I have a few blood oranges left and it’s my partner’s birthday in a few days. I think I’ll have to make another Flourless Blood Orange Cake so I can get a piece!
Today has been a gorgeous spring day in Melbourne. I’ve always loved the “in-between” seasons, spring and autumn. The cool crisp mornings that give way to sunny warm afternoons. It makes me just want to get into the garden and pull up the weeds that have thrived in the winter rains. Instead I’ve been in the kitchen, driven by the small nagging voice of my 5 year old daughter. “I want ice-cream, mummy”. I’ve been trying really hard to refrain from buying things from the supermarket. Instead I make it at home. Mostly it’s mayonnaise, more on that another day.
Instead of going back out to the shop to buy cream for ice-cream, I remembered a Nigella Lawson recipe from delicious Magazine I’d made sometime ago. It has no cream in it, only egg yolks, milk, sugar and lemon rind. All these things I had.
So having made the custard for the gelato di crema, I was left with egg whites. Usually I put them in a container in the fridge with good intentions of doing something with them. They then languish at the back of the shelf until discovered some months later as the source of that mysterious bad smell in the fridge. Not today. Today I decided to make pavlova. I used a mish-mash of various recipes. The result was a concoction of 5 egg whites, a cup of raw organic sugar ( ground in the food processor to somewhere between caster and icing sugar), a pinch of cream of tartar, 2 tsp of white vinegar and 2 tsp of tapioca starch.
I baked the pavlova in the oven at 160C for about 40 minutes then turned it off and let it cool down in the oven whilst I went and did the after-school pickup. When I came back and opened the oven about and hour later, I was somewhat disappointed with the results. It was crust, but when touched it broken and seemed to be very thin. There was also a lot of weeping going on and not by me! I had undercooked it or not whisked enough after the sugar went it.
After it was cooled I put it into and airtight container to await the return home of my pav-loving partner. When I took it out again a few days later it was very wet and not looking the best. My choices: bin it or rebake. So back into the oven it went, for about half an hour, I can’t tell exactly, I forgot to set the time (something I do a lot). I was alerted by the smell of something cooking and when I opened the oven, I remembered I was trying to save the pav! By this stage it was nicely brown and crusty so the oven went off and I left the pav to cool again.
Some of you may remember I had collected a large box of blood oranges from my defacto-cousin-in-law a little while back. Being early spring here in Melbourne, I just couldn’t bring myself to buy strawberries to top my twice cooked pavlova. I like to use what’s at hand where possible. I’d been reading Maggie Beer’s “Maggie’s Table” and had come across her recipe for Blood Orange Curd. “Why not?” I thought. It would be a bit like an upside down lemon meringue pie, only with blood orange. So I preceded to follow her recipe, but being nervous about curdling it, I took it off the heat and but it into a bowl in the fridge to cool. it seemed a bit runny but I hoped that was because it was hot and a rest in the fridge would thicken it.
A few hours later I returned to check and the curd was still runny. Under-cooked again! What was going on. So this time I did away with the bain marie and put the curd into a saucepan and recooked over gentle heat until it thicken. It tasted good but lacked the citrus punch I wanted to compete with the sweetness of the pavlova, so I zested a blood orange and added it to the curd. This vastly improved the flavour, however next time I’ll add more juice.
When the curd was cold, I slathered it over the top of the pavlova, and served it with a good scoop of lemony gelato di crema. Delicious!
 The last few weeks have been a bit of a blur for me. My partner is often away for work. Usually it’s two-three days at the most. This time it’s different. He’s in Europe on business (and pleasure!) and he’ll be gone for 4 weeks in total. Today marks the end of the third week. He was due to return tomorrow, but is staying away an extra week. Lucky him!
Tonight I had to pick up my eldest from a play date at his friend’s house at 5:30, right in the middle of dinner prep. Whilst doing the food shop today I picked up some chicken schnitzel at the butcher. For anyone who knows me, this is unusual. Normally I would buy the chicken and crumb it myself but after three weeks of solo parenting whilst also going to school three days a week, I was looking for something quick. So at about 5 pm I decided I should get dinner organised. Obviously chicken schnitzel was on the menu, but the last few times I’ve cooked it, I’ve found it a bit oily. I’ve been doing a lot of reading lately about paleo diets and not using processed oils, so I needed another way to cook my schnitzel. Why not cook it in the oven, so I Googled and came up with this recipe. It solved both my problems of frying and using oil. Fantastic, Butter Baked Chicken Schnitzel.
Whilst searching for recipes I came across a Jill Dupleix recipe for Chicken Parmigiana which took my fancy, so by combining the two recipes, and steaming some vegies, I had dinner on the table in half an hour of arriving home. As I don’t have a microwave, this was a bit of an achievement. I made the sauce from Jill Dupleix’s recipe. It took 5 minutes to chop the garlic (and onion, not in her recipe, as I realised after I’d chopped half of it!). Then I threw the lot in a saucepan, brought it to the boil and simmered for 20 minutes. That was done before leaving to collect son number one.
When we got back, I put the potatoes in the bottom of the steamer, covered them with water and brought them to the boil. I brushed the crumbed schnitzel with butter, put them on an oven tray and baked in a hot oven for 10 minutes. By the time they were ready to turn, the potatoes were almost done, so I put the broccoli, cauliflower and carrots on to steam.
The kids all turned up their noses at the idea of chicken parmagiana, so I was on my own. I put the sauce and cheese on one lonely schnitzel and put under the grill while I served up the kids meals. Being 3, 5 and 8 they like their food to be simple. I need a bit more flavour. It turned out to be a delicious meal with a minimum of stress, just what I needed.
Last weekend I took a drive 3 1/2 hours north of Melbourne, to the delightful town of Myrtleford. I was lured by the offer of free blood oranges as well as the opportunity to visit my de-facto cousin-in -law and her family. My kids got to spend the weekend with their cousins and I got free fruit. It was a win win all round. Plus I got to try my hand at buttermaking at The Butter Factory.
The Butter Factory is run by Naomi Ingleton, where she has been making beautiful cultured butter for almost two years now.

Blood oranges in the pot
There was reason for my mad dash northwards, Blood Orange Marmalade. The assessment task for Gateaux (one of the units in the Patisserie course I am doing at the moment), is to make and present a Gateau. The one I have decided to make will have a blood orange marscapone mousse layer in it. I have tried in the past to buy Blood Orange Marmalade, with no success. The solution to this problem? Make my own!
Back home I looked around for a recipe for Blood Orange marmalade, and found one for Sicilian Blood Orange Marmalade that sounded like fun to make. I never seem to be able to follow a recipe exactly, though. I used 3 kilos of oranges, which barely made a dent in the box! As the recipe said, I used a fork to prick my oranges all over. Then I soaked them in a bucket of water for 4 days, changing the water every day. It may sound like a lot of work but it only took a minute to pour off the water and refill the bucket. At the end of 4 days I chopped the oranges, quite roughly, because precision cutting is not one of my strengths. I also recommend using a really sharp knife, as those orange skins are quite tough.
I had started cutting at about 10 pm. I’m a late night cook. With three small kids I don’t always get around to doing the things I want at a reasonable hour. My youngest decided to wake up in the middle of my chopping and would not go back to bed without me. He is three and still co-sleeps in the bed with my partner and I. With my partner overseas, it was up to me to get him back to sleep. After a few failed attempts at returning the youngster to bed I gave up and explained that I wouldn’t be going to bed until my oranges were chopped. He sat down on the kitchen stool to watch and wait.
With lots of interruptions, I finally finished cutting the fruit at about 11:30 pm. The recipe said to add the sugar and cook until it was dissolved then cool and leave over night. I knew I was pushing my luck with my little helper, so decide to stir in the sugar, cover the pan and leave it until morning, effectively macerating the fruit. I have done this in the past with apricot jam, so why not marmalade?
In the morning, whilst eating breakfast, I stirred the fruit and sugar over a low heat until dissolved, then turned it off to cool, while I dropped my eldest son at school. Upon my return back home I brought the fruit and sugar to the boil and simmered until it gelled.
The bottled results of my marathon efforts are cooling on the bench behind me, with the seals on the jars “popping” in a most satisfying way as I type this. It is only now that I realise, I forgot to put the lemon juice in! Told you I can never seem to follow a recipe…
PS. As this is my first ever blog post, I’d really appreciate any constructive feedback on my writing style, content etc. Just be kind please!

The finished product freshly bottled and awaiting labelling.
